Introduction
React hooks can help you use state and other React features without using a class component, by using stateful logic and side effects in functional components. They ensure that code is reusable instead of writing the same stateful logic repeatedly. However, there are times when you want to write a certain kind of code but cannot use the React in-built hooks. This is where custom hooks come in.
Custom hooks are hooks, that are created for certain contexts and ensure code reusability in functional components. They can be created for form handling, event listeners, timers, animations, and many other things. They always begin with “use”, just like the React in-built hooks. Writing a custom hook makes working with React less stressful because you don’t have to rewrite the same code all over again. You simply import the custom hook into your components, where the stateful logic provided by the custom hook is required.
How to create a custom hook
Creating a custom hook requires a solid understanding of React fundamentals. You must have a clear idea of what you want to do with the React custom hook. You can create custom hooks by following the steps below:
Determine the stateful logic needed for your project
You must be able to determine if the custom hook is to help in state management or if it is to be used for form handling, fetching data, event listeners, and the like.
Write the custom hook function
After determining the stateful logic required, you create a JS file in which you write the custom hook. To avoid mix-ups, the JS file should have the exact same name as your custom hook. In the JS file, you will have to write a function that represents your custom hook. The function must start with “use”. When writing custom hooks, you would require React in-built hooks, so a good understanding of React hooks is essential.
Export the hook and use it in React components
You have to export the function that represents the custom hook. This ensures that it can be imported into React components, where it will be applied. Once a custom hook has been imported into a component, it functions like a React in-built hook. The logic can be reused as many times as necessary. Custom hooks can be shared between several components, which makes the code much cleaner.
React custom hook example
Let’s take a look at a custom hook called useGeolocation, which is a very good example, that can help you understand it better. The useGeolocation hook is one of several React custom hooks, and it can be implemented easily. Other custom hooks can be explored later, but for now, let’s focus on the useGeolocation hook.
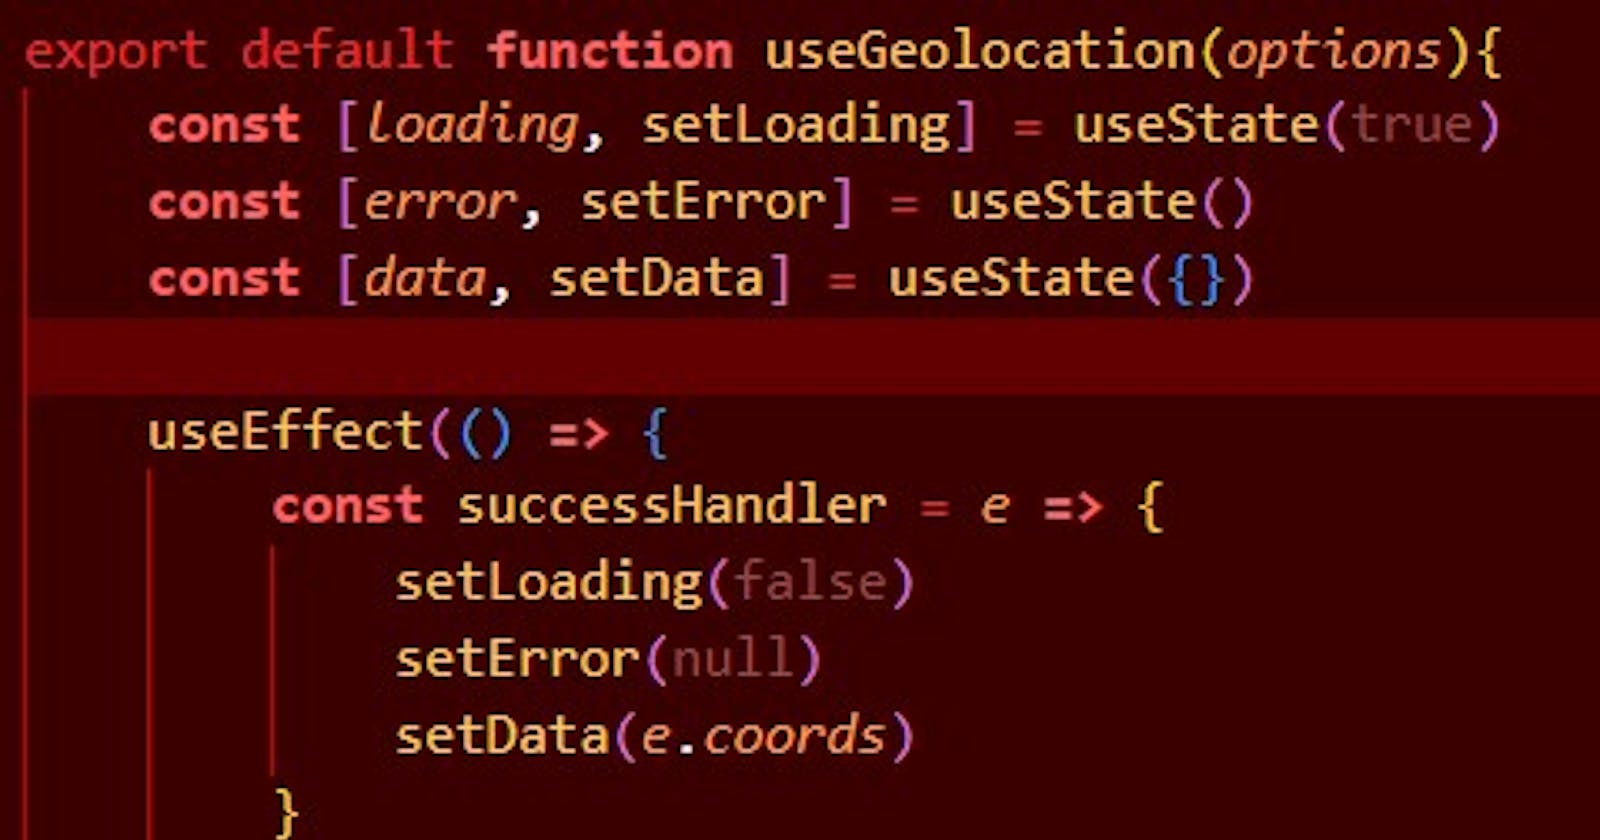
The useGeolocation hook enables you to access a browser’s geolocation API, allowing you to track a device’s location. This custom hook requires the use of both the useState and useEffect hooks, so you must be familiar with React in-built hooks. It has a loading, error, and data state, which are used to reference information returned from the hook. It also takes an optional parameter called options, which serves as a dependency for the useEffect hook.
The useEffect hook contains the bulk of the code. The useEffect hook accesses the geolocation API just like any other API and uses its getCurrentPosition() and watchPosition() methods. The getCurrentPosition() and watchPosition() methods take three parameters:
successHandler
This is a callback function that will update the states of loading, error, and data and also return the coordinates.
errorHandler
This is a callback function that can only update the states of loading and error because it only executes due to the occurrence of an error.
options
This is an optional object that can be used to set a maximum age in milliseconds for a cached position or a length of time in milliseconds for a device to return a position.
The useEffect hook ensures that the loading, error, and data states get updated every time the useGeolocation hook is executed. The useGeolocation hook returns an object containing the loading, error, and data states, which are called within a component that uses the useGeolocation hook.
import { useState, useEffect} from 'react'

export default function useGeolocation(options){
    const [loading, setLoading] = useState(true)
    const [error, setError] = useState()
    const [data, setData] = useState({})

    useEffect(() => {
        const successHandler = e => {
            setLoading(false)
            setError(null)
            setData(e.coords)
        }
        const errorHandler = e => {
            setLoading(false)
            setError(e)
        }
        navigator.geolocation.getCurrentPosition(
            successHandler,
            errorHandler,
            options
        )
        const id = navigator.geolocation.watchPosition(
            successHandler,
            errorHandler,
            options
        )
        return () => navigator.geolocation.clearWatch(id)
    }, [options])
    return { loading, error, data }
}
Here's an example of how to use this hook:
import useGeolocation from './useGeolocation';

export default function Geolocation() {
    const {
        loading,
        error,
        data: {latitude, longitude}
    } = useGeolocation()

    return (
        <>
         <div>Loading: {loading.toString()}</div>
         <div>Error: {error?.message}</div>
         <div>Latitude: {latitude}</div>
         <div>Longitude: {longitude}</div>
        </>
    )
}
Output:

As shown in the code above, the useGeolocation hook was imported into the component where it was to be used, and there were loading, error, and data states that were called with the useGeolocation hook. Finally, the values of loading, error, longitude, and latitude for my location were logged onto the screen.
NB: I used a JS code block because there isn't one for JSX.
Conclusion
React custom hooks can make the sharing of logic between components very easy. Once you understand how to create custom hooks, you become a master of React.
